
TM 9-6140-200-14
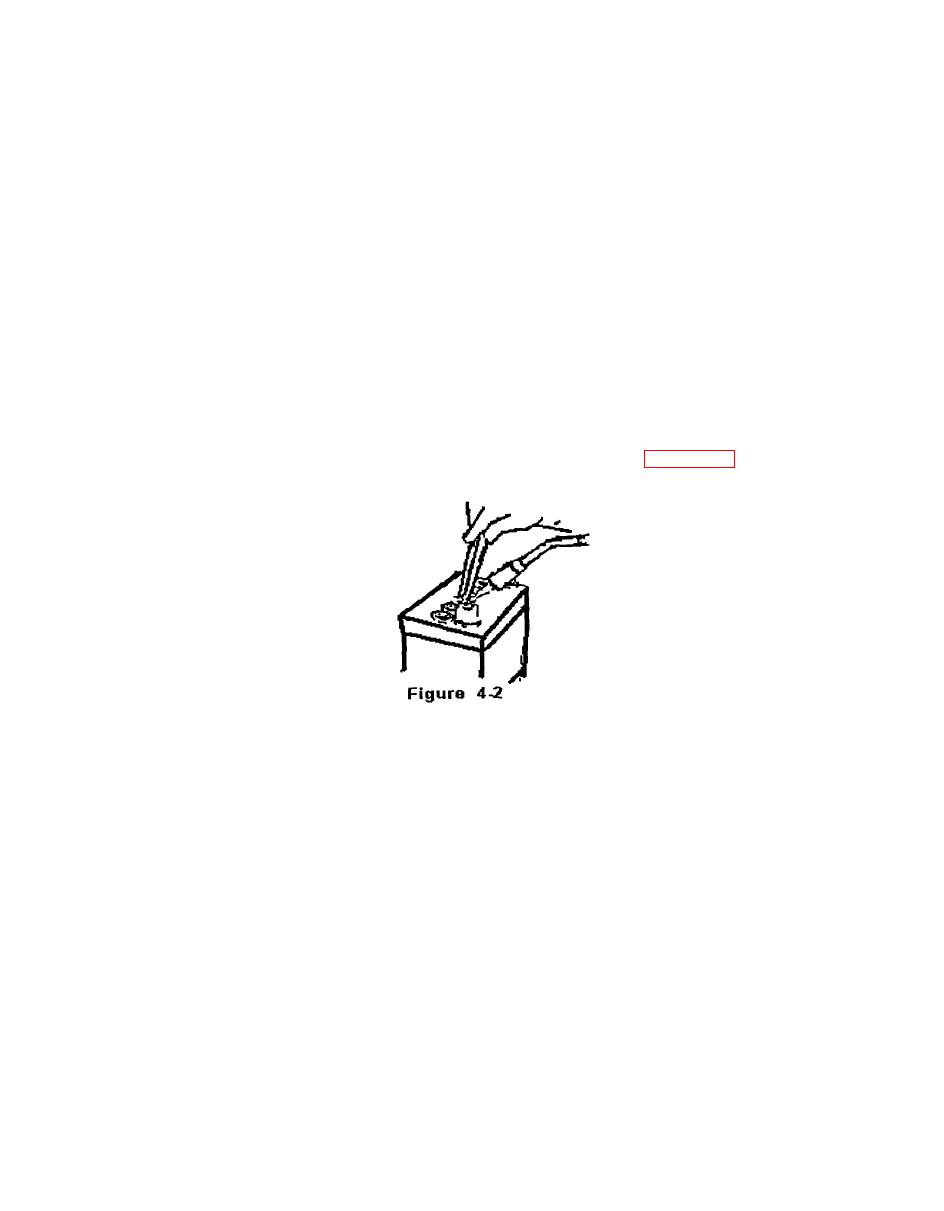
(8) With the steel post mold securely in place, apply heat to the top of the
damaged post. Use a torch that produces a narrow pencil-shaped flame in
order to direct the heat to the top of the post without overheating the post
mold. An overheated mold will cause the lead to become too hot and lost by
running out under the base of the mold. As the lead start to melt, be careful
not to jar and unseat the mold. Use a thin steel prop and manually test the top
of the lead post to determine when the post is molten enough to accept new
lead to be added. This will be difficult to tell with the naked eye, and the use
of the prod will help to prevent overheating of the lead. When the top of the
lead post is molten, hold one end of the lead stick close over the opening of
the mold. Heat the end of the stick and feed the molten lead into the molten
metal of the battery post. Be sure to keep both the molten lead of the post and
the new molten lead fluid until the mold is filled. (See Figure 4-2).
(9) Check the newly formed post by gripping the top of the newly formed post with
a pair of pliers and twisting. If the top breaks off, the lead was not sufficiently
molten to complete a metallurgical bond of the old and the new lead. Repeat
the operation until a bond of the two leads are complete.
(10) If the post has been properly rebuilt, the exterior surface of the post will be
smooth or bear minor roughness. Dress and clean the new post as necessary
and allow the post to cure for two hours.
4- 5

